

How To Draw A 4 Leaf Clover
Idue north today'southward tutorial, we are going to learn how to draw a shamrock, too known as a four-leaf clover. This lucky leaf is the emblem of St Patrick'southward day and represents hope, love, faith, and luck. This iv-leaf clover cartoon tutorial takes yous stride-by-step through the process of creating a detailed and colorful clover drawing. Follow along with the states as we acquire how to draw a shamrock in 12 easy steps!
Table of Content
- ane Step-past-Step Clover Cartoon Tutorial
- 1.1 Footstep 1: Begin by Cartoon a Heart
- one.2 Footstep two: Outlining the Second Leaf
- i.3 Step 3: Calculation the Third Leaf to Your Clover Cartoon
- 1.iv Step four: Finishing the Leaves of Your Clover Drawing
- one.five Footstep five: Outlining the Stem of Your Four Leaf Clover Drawing
- i.vi Step 6: Beginning Calculation Detail to Your Clover Leaves
- 1.7 Stride 7: Adding Texture to Your Clover Cartoon
- 1.8 Footstep viii: Applying the First Glaze of Color
- i.9 Pace nine: Creating Depth with Contouring
- 1.10 Pace ten: Adding a Second Color
- 1.11 Pace eleven: Emphasizing the Shading
- i.12 Step 12: Adding the Finishing Touches
- 2 Often Asked Questions
- 2.ane Is It Hard to Larn How to Describe a Shamrock?
- ii.2 What Colors Should I Use for my Four Leaf Clover Drawing?
- 2.3 Can This Tutorial Prove Me How to Draw a Four Foliage Clover?
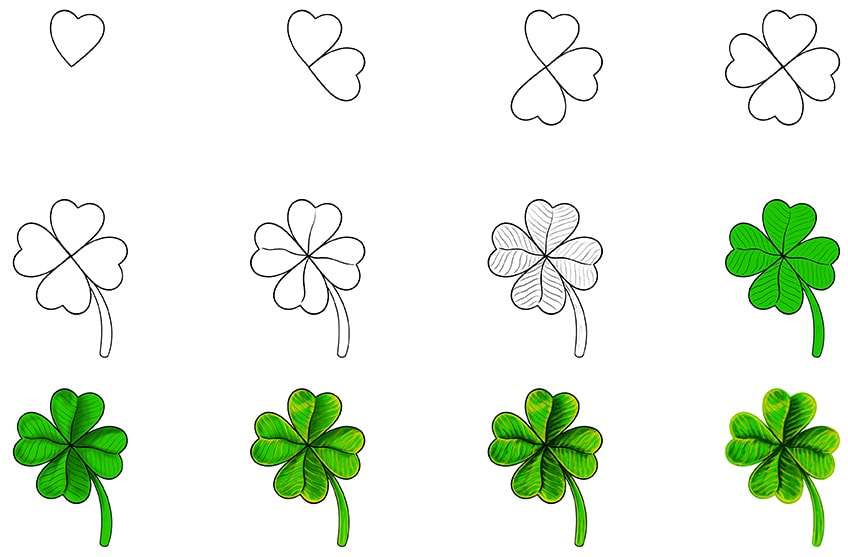
Step-by-Pace Clover Drawing Tutorial
Symmetry is the name of the game when information technology comes to creating a realistic clover drawing. In order to brand certain that you lot can get the symmetry perfect, we take you step-by-stride through the process of how to draw a shamrock, beginning with structure shapes. Structure lines and shapes are a neat tool to use when creating any drawing, as they help u.s.a. to set out the basic shapes of the object before calculation besides much detail or colour that you do non desire to remove.
Beneath, you tin can see a quick outline of the tutorial, including the construction, item, and coloring steps.
For the coloring steps, you have a lot of choices. Our tutorial is written for a painting medium, but the coloring steps of our shamrock drawing can exist easily adapted to suit almost every medium.
You could use a digital drawing tablet, or you could use coloring pens or pencils.
Step 1: Begin by Cartoon a Heart
Nosotros begin constructing the leaves of your clover drawing. Each leaf is shaped like a centre, so we are going to draw iv of these, with the points meeting at the middle.
Begin by drawing the starting time eye-shaped leaf slightly off-center and tilted to the correct.

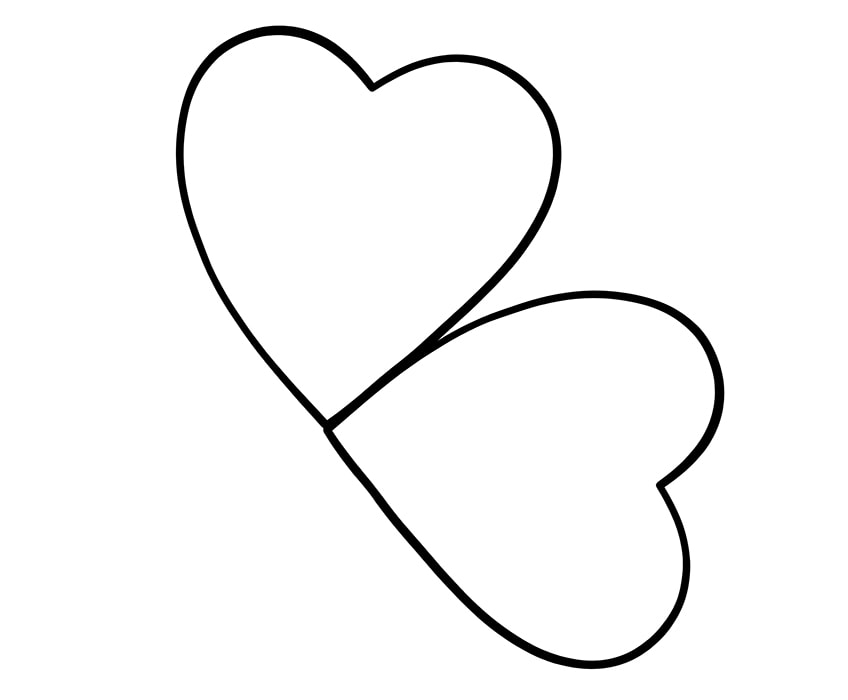
Footstep ii: Outlining the 2d Leaf
Just below to the right of the first cloverleaf, draw a second middle-shaped leaf.
The lesser of the centre should be attached to the bottom of the starting time one.
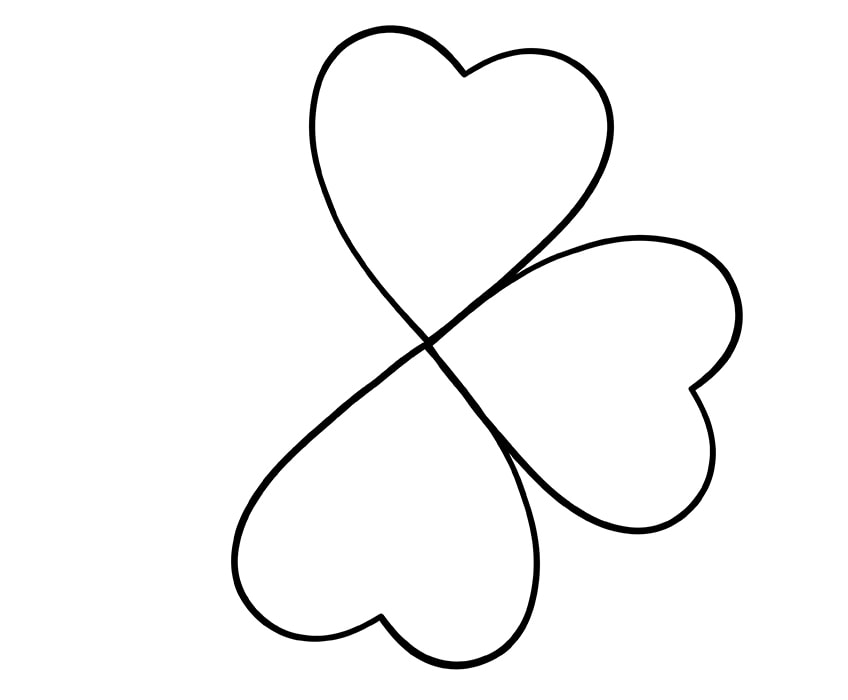
Step 3: Adding the Third Leaf to Your Clover Cartoon
For the 3rd leaf of your shamrock drawing, you want to draw a heart shape that sits directly opposite the showtime 1.
Brand sure that all of the edges at the bottom of the leaves are touching.
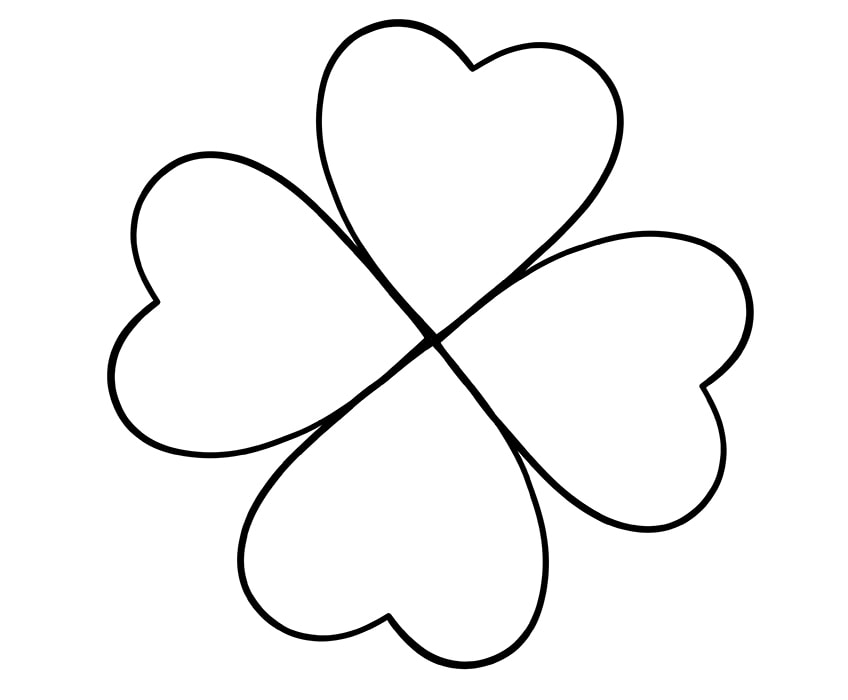
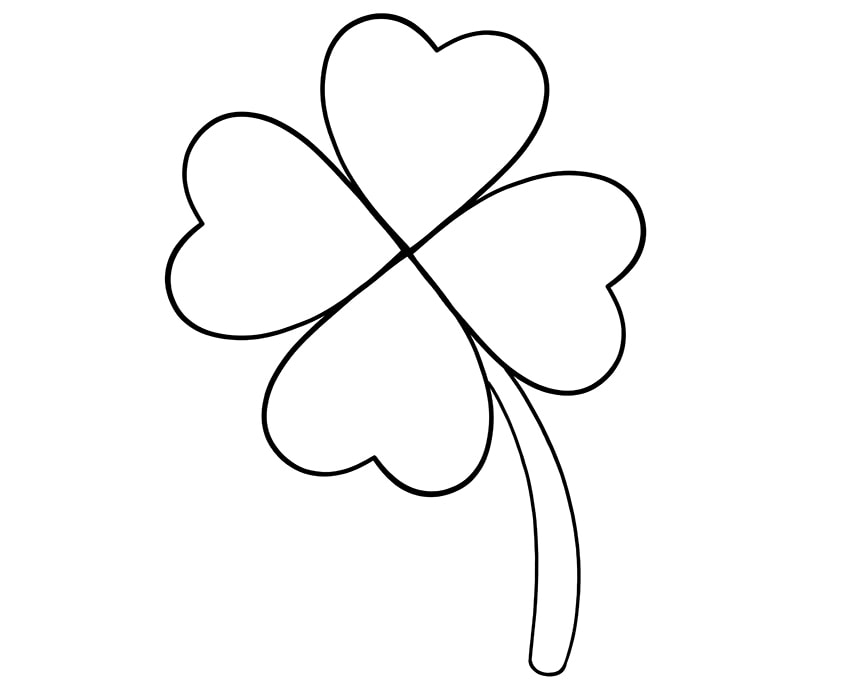
Stride four: Finishing the Leaves of Your Clover Drawing
To complete the four leaves of your shamrock drawing, add in the final middle so that it fits snuggly in between the others.
You now have the outline of your four leafage clover drawing!
Step v: Outlining the Stalk of Your Four Leaf Clover Drawing
For the stalk of your shamrock drawing, draw a fairly thick and curved shape that begins in between the two lower leaves.
The bottom of the stem should be a little thicker than the tiptop, and it should likewise take a curved base.
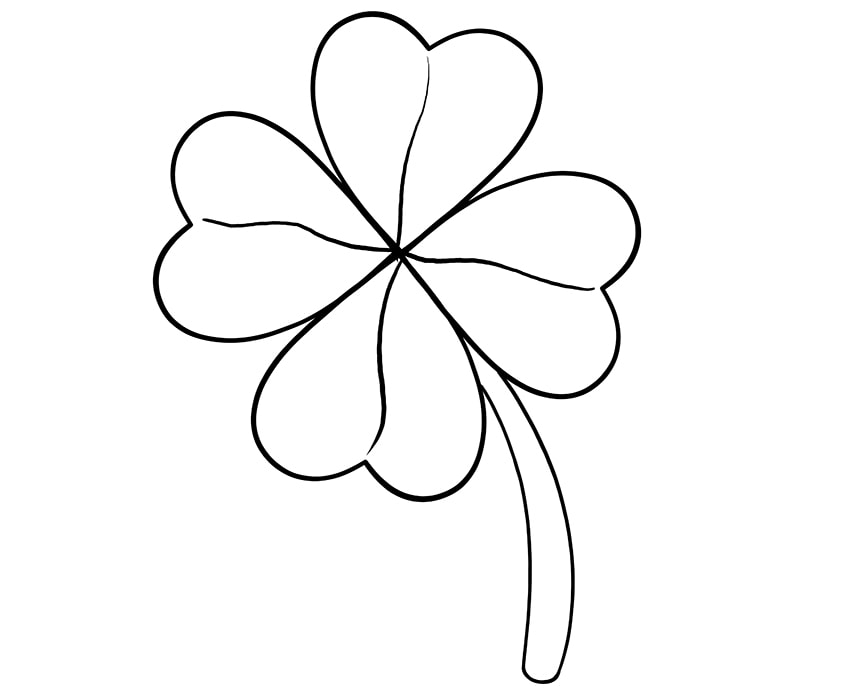
Step six: Start Adding Item to Your Clover Leaves
In this pace, you are simply going to add together a centerline to each leaf of your clover drawing. Begin on each leaf at the center, and draw a line that curves to the base signal of each heart.
The curves do not need to be consequent or perfect equally every clover is unique.
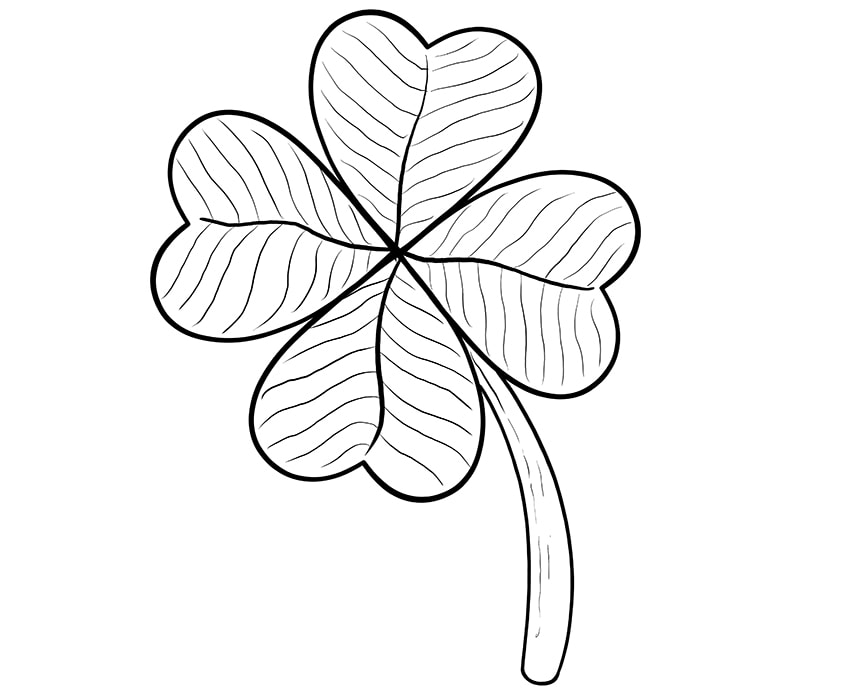
Pace 7: Adding Texture to Your Clover Drawing
This footstep is the final one earlier we begin adding colour. Begin past filling each leaf with flowing lines that curve upwards and outwards from the primal lines. These lines can be curvy and drawn free-manus. Again, there is no demand for perfection. To finish this texturizing step, draw several fine lines downwardly the stem shape.
These stem textural lines should flow with the curvature of the stem.
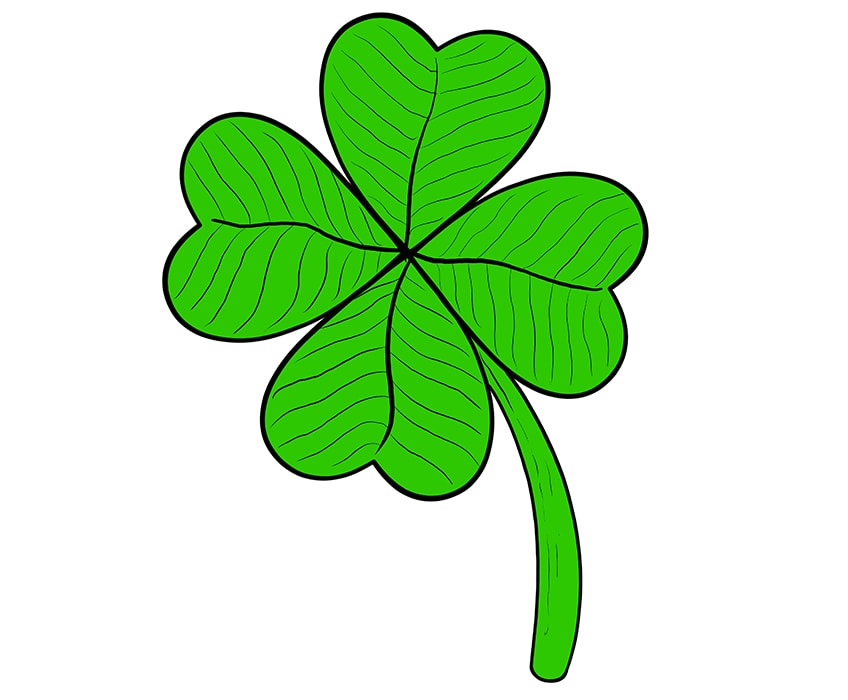
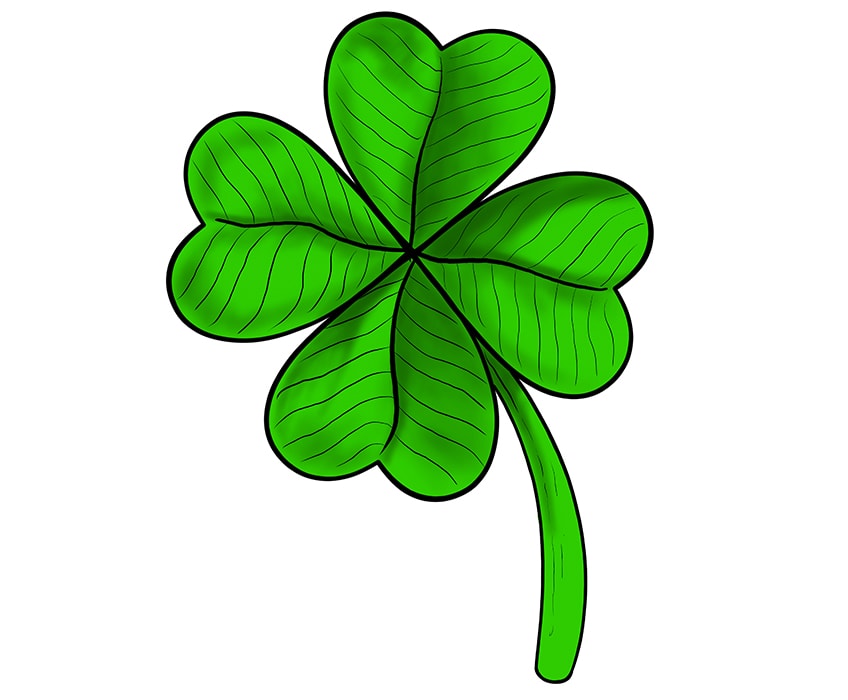
Footstep 8: Applying the First Coat of Color
To build a realistic coloring for your four foliage clover drawing, you need to employ several unlike layers. For this first layer, notice a bright green shade and use a regular brush to make full the leaves and stem with an even coat.
Whatsoever your called medium, make sure that this coat is fifty-fifty and does not have any blotches of darker colour.
Step ix: Creating Depth with Contouring
To increase the realism of your shamrock drawing, y'all can now use a blending brush and a touch of black pigment to add more structure and depth to the leaves and stem. Focus the shading on the areas that would naturally exist hidden from the calorie-free source and be more sunken.
These areas include forth the center lines and at the height of the stem.
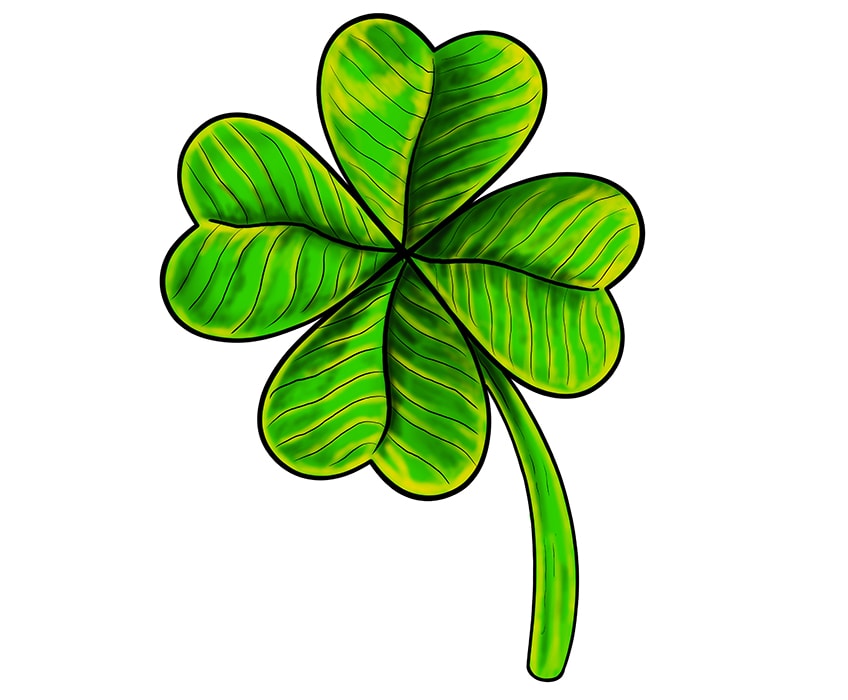
Footstep 10: Calculation a Second Colour
No plant, however perfect, is a pure green shade. In this step, you are going to add together a little more involvement to your clover drawing with a little yellowish paint. Apply a small blending castor and apply a touch of yellowish to each of the texture lines and around the edges of the leaves.
You lot tin can besides add a few streaks within the stem to create a trivial highlighting.

Footstep 11: Emphasizing the Shading
As we begin adding the final touches to our clover drawings, we are going to add a petty more shadow definition throughout. Use a small blending brush and some black pigment to raise the contoured center lines, and add some more shading within the texture lines of the leaves. Y'all can also add together a little more shading along the texture lines within the stem.
For a smooth alloy, you lot tin apply a dry blending brush to smooth the layers of pigment into each other.
Step 12: Adding the Finishing Touches
To finish your clover cartoon, you can now erase the outlines and inner texture lines to create a more seamless finish. Employ a sharp castor and the corresponding color for each surface area of the outline, and carefully trace the outlines.
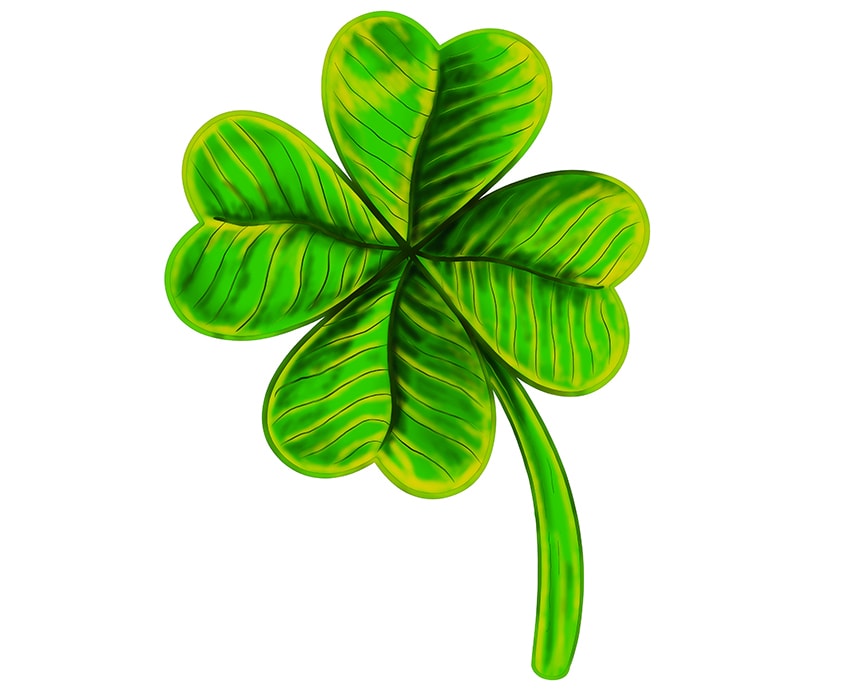
Well done for finishing your very ain lucky charm iv leafage clover drawing! Hopefully this tutorial has shown you how to depict a shamrock in easy-to-follow steps, and we hope that you will go on to create and share the luck with your loved ones.
Frequently Asked Questions
Is It Difficult to Acquire How to Describe a Shamrock?
Cheers to their symmetry, four leafage clovers are actually very like shooting fish in a barrel to draw when you break them down into manageable steps. Our shamrock drawing tutorial shows you exactly how to create a realistic clover drawing in only 12 steps!
What Colors Should I Apply for my Four Leaf Clover Drawing?
Although clovers appear to be simply green at offset, if you expect closely, you will run into that there are many different and unique shades. We use green, yellow, and black to create a realistic and dimensional coloring for our clover drawing.
Tin This Tutorial Bear witness Me How to Describe a Four Leafage Clover?
For everyone who wants to acquire how to draw a four leaf clover, we have designed this piece of cake-to-follow tutorial. In just 12 steps, we show you how to construct, detail, and color a realistic clover drawing.

Source: https://artincontext.org/how-to-draw-a-four-leaf-clover/
Posted by: ellenderbeely1967.blogspot.com
0 Response to "How To Draw A 4 Leaf Clover"
Post a Comment